
Last updated November 14, 2026
 Wrought iron
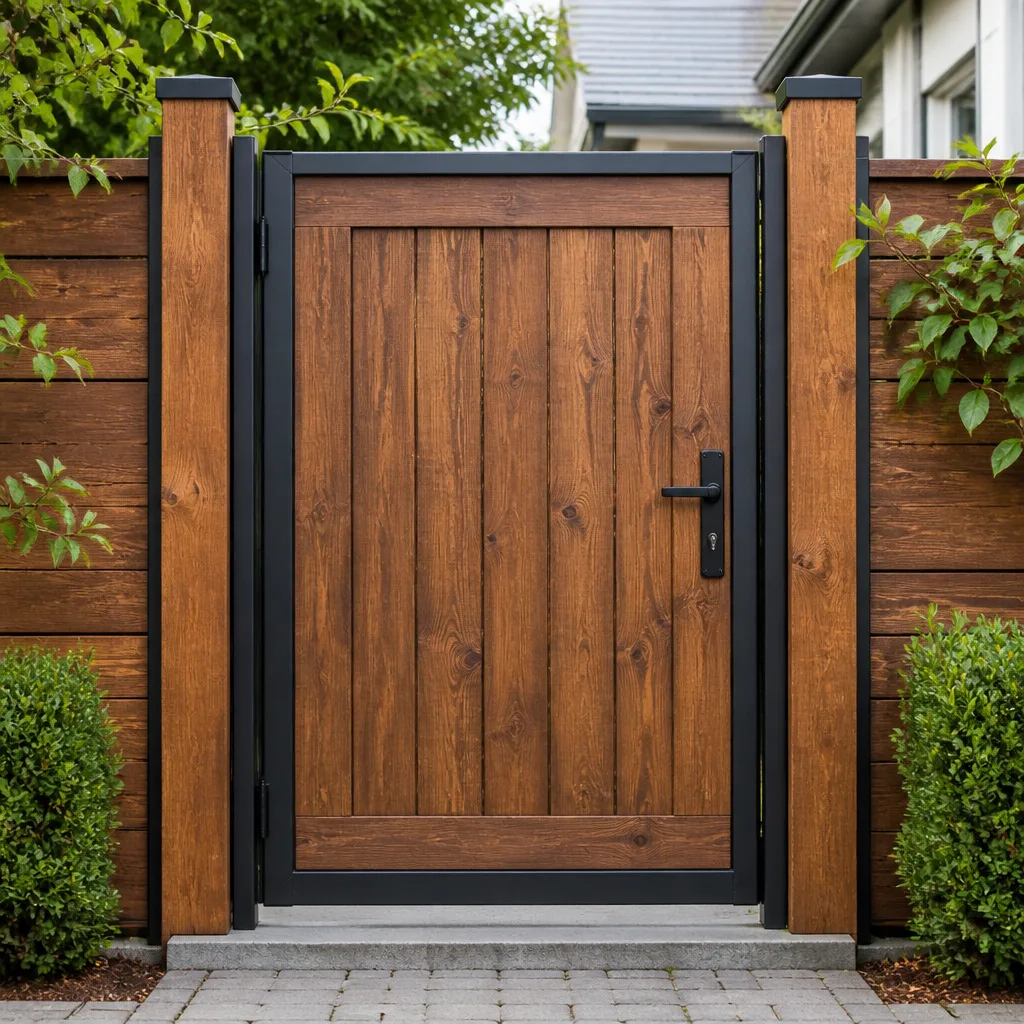 Wood & steel frame
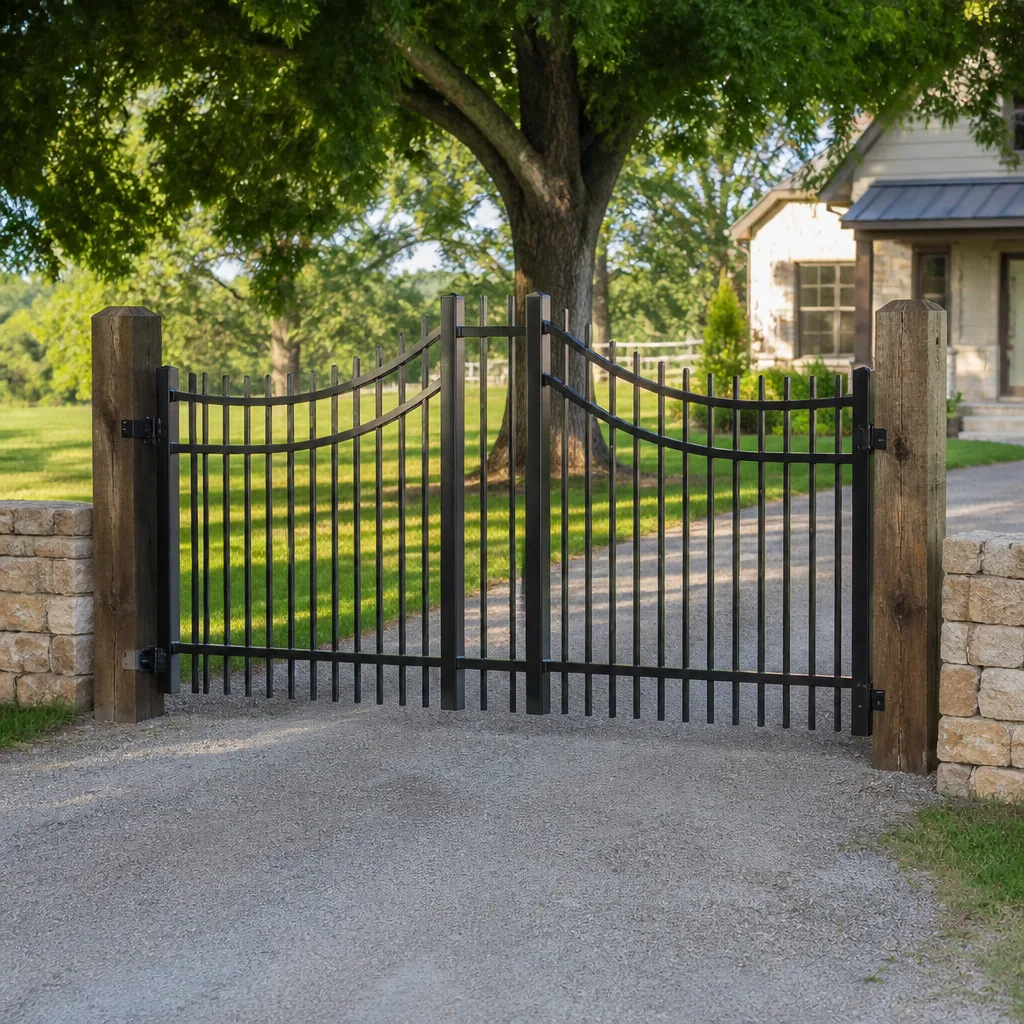 Farm & ranch
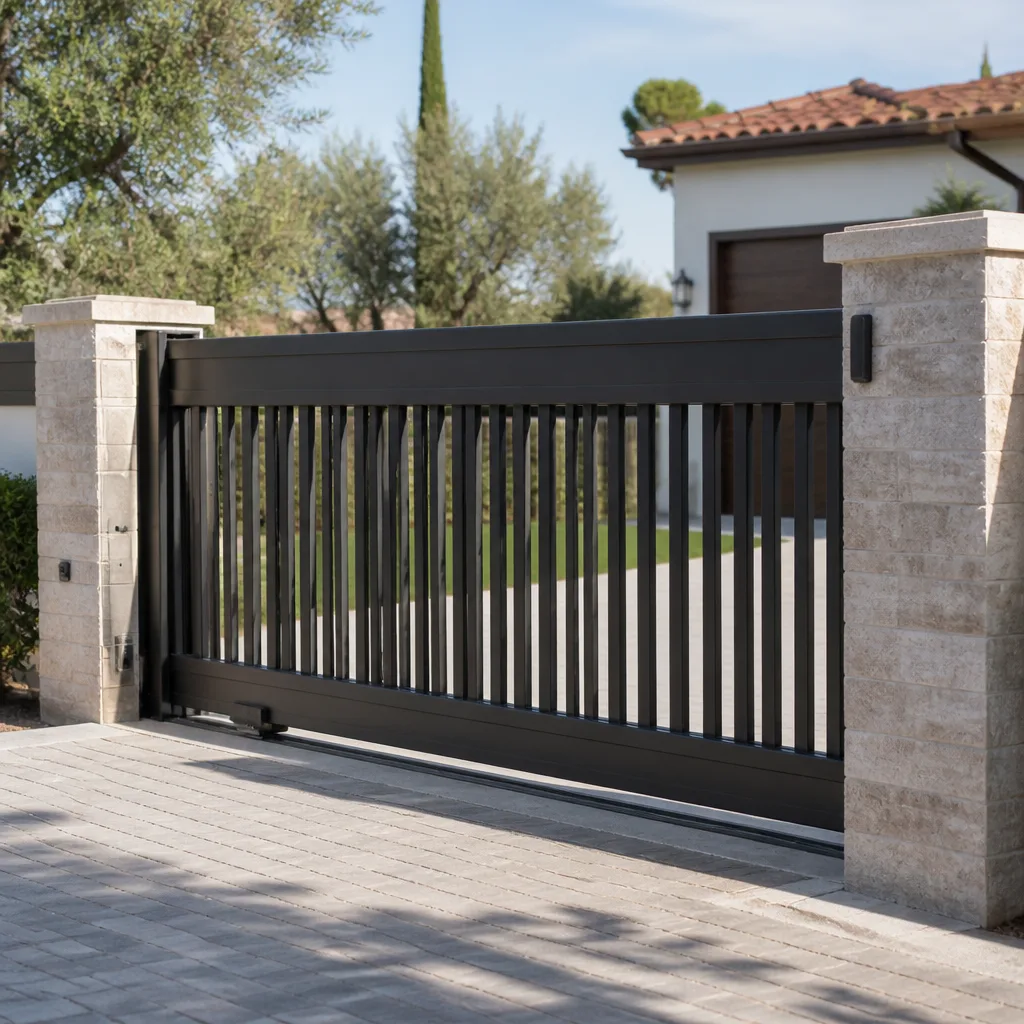 Sliding driveway gates
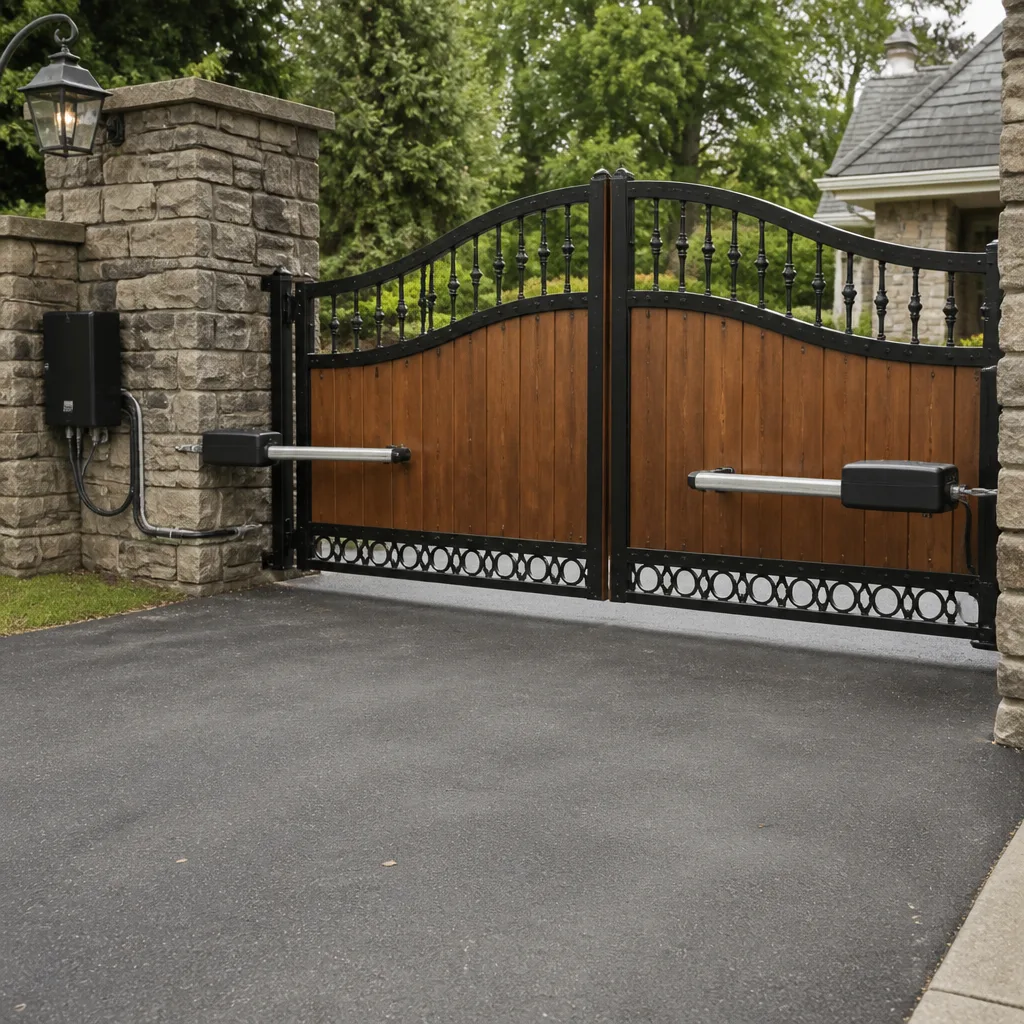 LiftMaster operators
Free on-site gate assessment - hinges, posts, and your LiftMaster or Nice gate operator checked before anything is quoted
The assessment is free and the quote is the invoice.
Get your free estimateGate Repair Maintenance Checklist for Centennial Homeowners
The usual advice to lubricate your gate hinges “twice a year” is almost useless on its own, because it never says which lubricant. Put the wrong one on a hinge here and it turns into a gummy paste that traps grit and grinds the pin down faster than doing nothing. That’s before we get to the bigger problem most checklists ignore: a Centennial gate lives through temperature swings that can hit 60°F in a single day and sits in expansive clay soil that swells and shrinks with the seasons. This guide is built around those two realities, with the right lubricant for each part, a way to measure post shift, a battery test that accounts for our high-altitude sun, and a calendar that follows Centennial weather instead of generic seasons.
Quick Answer
A working gate maintenance checklist for Centennial covers the mechanical parts you can see (hinges, latches, chain, posts) and the operator parts you can’t, on a schedule set by our temperature swings and clay soil rather than the calendar. The three steps that catch the most trouble early are testing the safety reversal, measuring post plumb, and matching the right lubricant to each component. Any operator, from LiftMaster to Mighty Mule, needs the same discipline.
Styles & brands we work with
- Wrought iron
- Wood & steel frame
- Farm & ranch
- Sliding driveway gates
- LiftMaster operators
Table of Contents
- Why the Right Lubricant Matters in Centennial
- Checking Post Plumb in Expansive Clay Soil
- Testing Battery Backup in High-Altitude Sun
- Safety Reversal and Obstruction Sensor Testing
- A Month-by-Month Calendar for Centennial Weather
- What to Check on the Operator and Motor
- Checklists for an In-Progress or New Gate Project
Why the Right Lubricant Matters in Centennial
The lubricant you choose has to survive two things our climate throws at it: a summer sun that bakes metal and a winter that freezes any moisture trapped inside a joint. Lithium grease, silicone spray, and chain lube are not interchangeable. Each is built for a different surface, and using the wrong one is worse than leaving the part dry in some cases.
Here’s how we sort them by component:
- Hinges and pivot pins: a light lithium or white lithium grease works well because it stays put on the pin and holds up to load. Too much of it collects grit. Wipe away the old black residue before you add new.
- Sliding gate tracks and rollers: a silicone spray, dry and non-tacky, so it doesn’t grab dust that then rolls into the bearings. Never grease a slide track on a rolling carriage; it turns into a paste the wheels plow through.
- Roller chains (operator or manual): a dedicated chain lubricant that penetrates the links, not a spray-on all-purpose oil that flings off the chain the first time it moves.
- Latch and bolt mechanisms: a light silicone spray or graphite keeps the lock functioning without attracting grit into the small moving parts.
- Limit switch and moving operator parts: generally best left alone unless the manufacturer specifies something, because the wrong film can interfere with contacts.
UV matters here more than people expect. Our summer sun breaks down oily residues on exposed surfaces, so a gate that sits in full afternoon light needs its lubricant refreshed a little more often than one tucked in shade. If a hinge starts to feel stiff rather than loose, that’s usually a sign the wrong product has turned gummy. When the paste is already there, cleaning it out properly can matter as much as the gate repair itself. That’s a job worth doing right, and gate repair handles it as part of a full tune-up.
Checking Post Plumb in Expansive Clay Soil
Posts that have shifted are the quiet cause behind a lot of operator failures around Centennial. The soil here is heavy expansive clay, which swells when it takes on water and shrinks as it dries. That seasonal movement pushes and pulls on a gate post, and over a few cycles one corner of your gate can drift out of true without anything looking obviously wrong. A gate that drags or the operator straining to close is often a plumb problem, not a motor problem.
You can check plumb yourself with a level and a tape measure:
- Hold a spirit level against the post on two adjacent faces. Note the bubble.
- Measure from a fixed reference point (say, a corner of the driveway slab) to the post top. Record it.
- Repeat the same measurement to the post base.
- Write the numbers down and date them. A single snapshot tells you little; a pattern over months tells you whether the post is moving.
The threshold that matters: once a post leans enough that the gate no longer sits level in its rest position, or the gap between the gate and the post changes across the swing, alignment is beginning to load the operator. A gate that fought a straight post yesterday and fights a tilted one today drains the motor, wears the hinges faster, and trips the safety sensors more often. A small lean at the base looks harmless until the gate is bouncing off a limit switch. If your measurements drift month to month, it’s worth having the footing checked rather than tightening the operator to compensate. That’s where a specialist who works on gate frames and operators together earns their keep.
Testing Battery Backup in High-Altitude Sun
Solar and 12V battery backup systems behave differently in Centennial than they do at sea level. The high-altitude sun is intense, and it can overcharge a panel-facing battery in summer while a cold winter morning drains the same battery fast. Testing isn’t just checking that the gate opens on battery. It’s checking that the battery holds under the conditions it will actually face.
A practical test protocol:
- Note the resting voltage with a meter before you touch anything. Compare it to the range your operator’s manual gives. Don’t guess at a good number.
- Cut the AC or main power (safely, per the manufacturer’s instructions) and time how long the gate runs on battery alone. Note how many cycles it completes before slowing.
- Restore power and confirm the operator charges back to full. A battery that never returns to full is on its way out, sun or no sun.
- Check panel angle and shade if you run solar. Trees grow, and a panel that worked two summers ago may now sit in afternoon shade.
- Log the date and result so you can compare next time. A battery that’s already fading in the fall will likely strand you in a cold snap.
If your operator is a LiftMaster or an Elite, both use sealed battery setups that test the same way, though the exact voltage cutoffs are in the manual. When a battery fails to hold, that’s an electric gate repair call rather than a swap-and-hope job, because a weak battery can mask a charging fault. Testing a couple of times a year, once after the first cold snap and once before the hot stretch, catches most failures before they leave the gate stuck open.
Safety Reversal and Obstruction Sensor Testing
This is the step homeowners skip most, and it’s the one that carries the most weight. A gate that stops and reverses when something blocks it isn’t a convenience feature; it’s the mechanism that prevents the gate from closing on a person, a pet, or a car. An untested safety reversal is a liability sitting in your driveway, whether the gate is at an HOA entry in Centennial or a private driveway.
Run this test regularly:
- Clear the path and make sure no one is near the gate.
- Start the gate closing.
- Interrupt the beam or place a solid object in the path the way the operator’s manual tells you.
- Confirm the gate reverses or stops and reopens within a second or two.
- Test the physical edge sensor (the safety edge) the same way, if your gate has one.
- Inspect the sensors for dirt, cobwebs, and misalignment. Our dust and pollen season fouls optics quickly.
If the gate doesn’t reverse, stop using the automatic function until it’s fixed. Never bypass a sensor to get the gate working “for now,” and never run an automatic gate where a child could reach the moving edge without the safety features working. This is a job for a trained technician, not a homeowner with a screwdriver. If your safety edge or sensors aren’t behaving, we can diagnose both the sensor circuit and the operator. Electric gate repair covers the full range, from a single failed beam to a control board that ignores the safety input.
A Month-by-Month Calendar for Centennial Weather
Generic checklists tell you to service “in spring and fall.” That misses the specific windows here, where a single day can swing 60°F and a late spring freeze can catch a gate mid-adjustment. This calendar follows the actual rhythm of Centennial weather rather than the calendar on a greeting card. It applies to any operator, whether DoorKing, Mighty Mule, or anything between.
- January – February (deep cold): test battery backup, listen for unusual motor noise on cold mornings, and clear any ice or packed snow from the track or carriage path.
- March – April (freeze-thaw): the clay soil is moving most. Measure post plumb, check the gate for dragging, and look for new gaps at the latch.
- May (first heat): clean and re-lubricate hinges and chains with the right products, and inspect sensors for pollen and dust.
- June – July (UV peak): test safety reversal, check for UV cracking on any exposed plastic or rubber components, and confirm solar panels are clean.
- August (monsoon push): after heavy rain, look for soil settling around posts and check the gate for new drag.
- September – October (cooling): the second battery test of the year, plus a chain and hinge refresh before the cold.
- November – December (first freeze): confirm the safety reversal again cold, check for frozen hardware, and note any post movement for a winter repair.
Doing a shorter version of this every month beats a big job twice a year. The point is to catch drift early, while it’s still a five-minute adjustment instead of a rebuild.
What to Check on the Operator and Motor
The operator is where mechanical wear and electrical faults meet, and it’s why so many “gate won’t close” calls turn out to be a motor board or a limit switch. You can run a few safe visual checks without opening anything that carries power. Beyond the visual, leave the wiring, the control board, and the power connections to a trained technician, because the operator’s electrical side can shock or start a fire if handled wrong.
A safe operator check:
- Listen while the gate runs. A grinding, clicking, or rattling sound that’s new is worth noting.
- Watch the limit stops. The gate should stop cleanly at both ends, not slam or reverse early.
- Check the manual release. Confirm you can disengage the operator and move the gate by hand, as the manufacturer describes. If manual release is stiff, that’s a mechanical issue.
- Look at the control housing for moisture, insect nests, or corrosion. Keep it closed and dry.
- Note any change in response to remotes or keypads. Intermittent access-control behavior often signals a failing receiver or board.
Never open the operator housing to fiddle with the board or the wiring yourself. Electric gate repair is genuinely different from a bent hinge, and the operator is the part that needs a specialist. Whether your opener is a LiftMaster slide or a DoorKing swing, the diagnostics are the same three-part question: motor, board, or accessory. Gate Repair Centennial runs that diagnosis for both the mechanical structure and the operator, so you’re not sent to a second company when the problem lands between the two.
Checklists for an In-Progress or New Gate Project
If you’re planning a new gate or replacing an operator, this checklist works the same way, but the timeline stretches. Measure, order, and schedule happen over weeks, not a single visit, so this isn’t the place for same-day service promises. What you want is a free measure and a written price that spells out every part of the job before anyone picks up a tool.
For a new gate or a replacement, confirm:
- The measure is done on-site rather than over the phone, so the post spacing, driveway grade, and soil conditions are actually accounted for.
- The plan includes the power run if the gate is automated, and who’s responsible for getting power to the operator.
- The safety edge and photo-eye sensors are specified, not left as an afterthought.
- The operator brand, model, and accessories are in writing before the order.
- The written price covers materials and labor so no line item appears after the gate is in.
Then, on any gate already in service, use the same list as a year-over-year reference: confirm the sensors are still aligned, the battery still holds, and the posts haven’t moved. If a project is in the works in Centennial, a specialist will tell you plainly when repair makes more sense than replacement, and when it doesn’t. Centennial has its share of both, and the soil under your gate does a lot of the deciding.
Common Mistakes to Avoid
- Using the wrong lubricant. Lithium grease on a slide track or all-purpose oil on a chain turns into a grit-laden paste and wears the part faster. Match the product to the component.
- Skipping the safety reversal test. The step most homeowners never do is the one that prevents injury. Test it every month, and never bypass a sensor.
- Assuming the operator is the problem. A strained motor usually traces back to a shifted post or a dragging gate. Diagnose the frame before you replace the motor.
- Ignoring post movement in clay soil. A small seasonal lean becomes a big alignment problem if you keep tightening the operator to compensate. Measure and log it.
- Sheltering a solar panel under a growing tree. Changing shade changes battery charging. Walk out and look at the panel angle, not just the battery.
- Power-washing or soaking the operator housing. Water finds its way into the board. A dry wipe of visible surfaces is enough; leave the internals alone.
- Waiting for a full failure. A gate that’s slower, noisier, or harder to close is telling you something. Small fixes caught on the checklist stay small.
See the difference
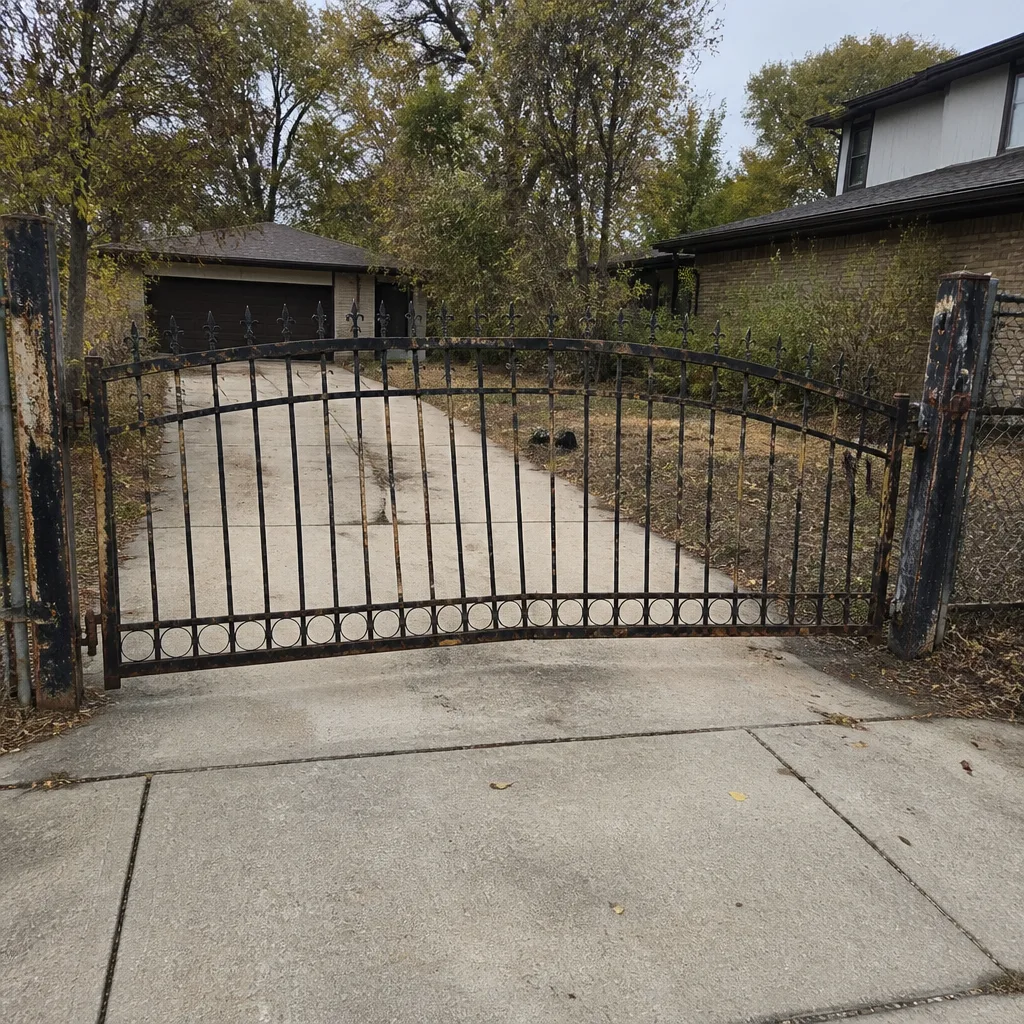 Before
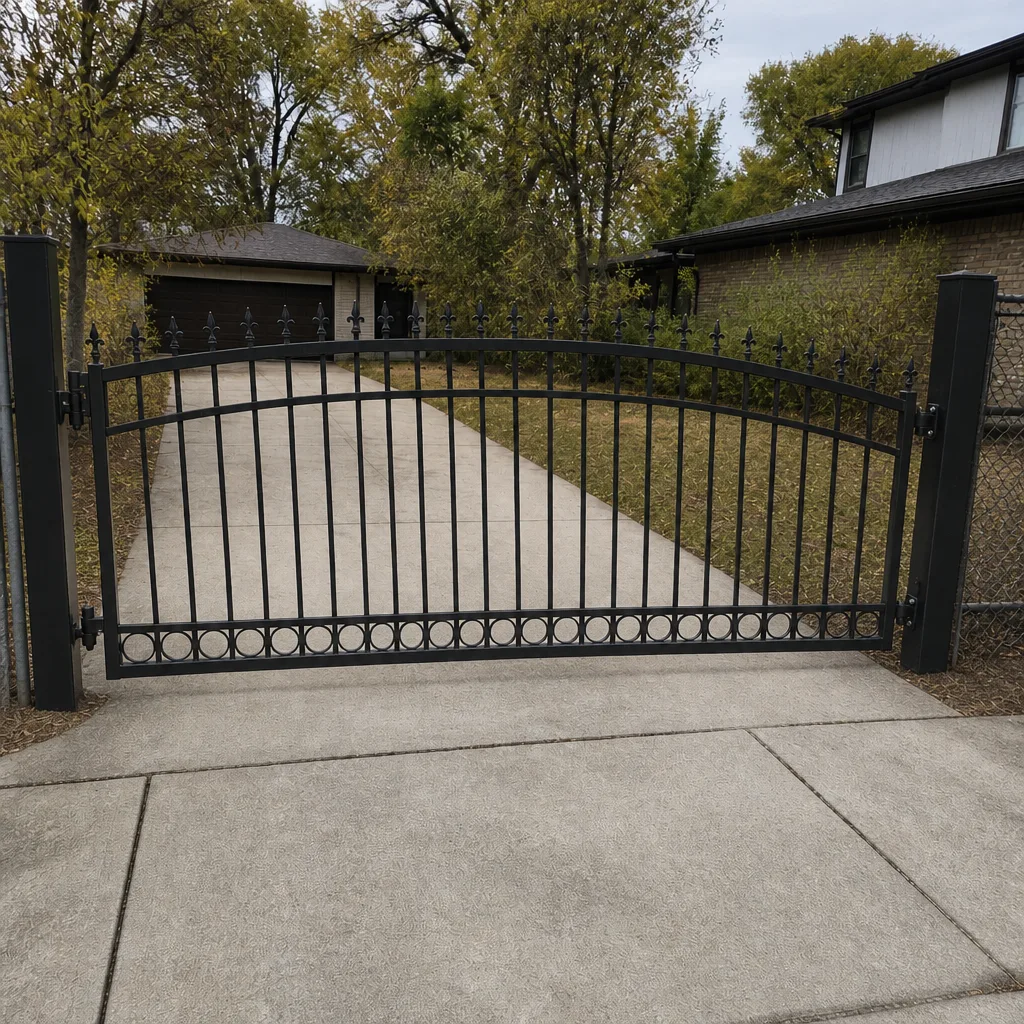 After
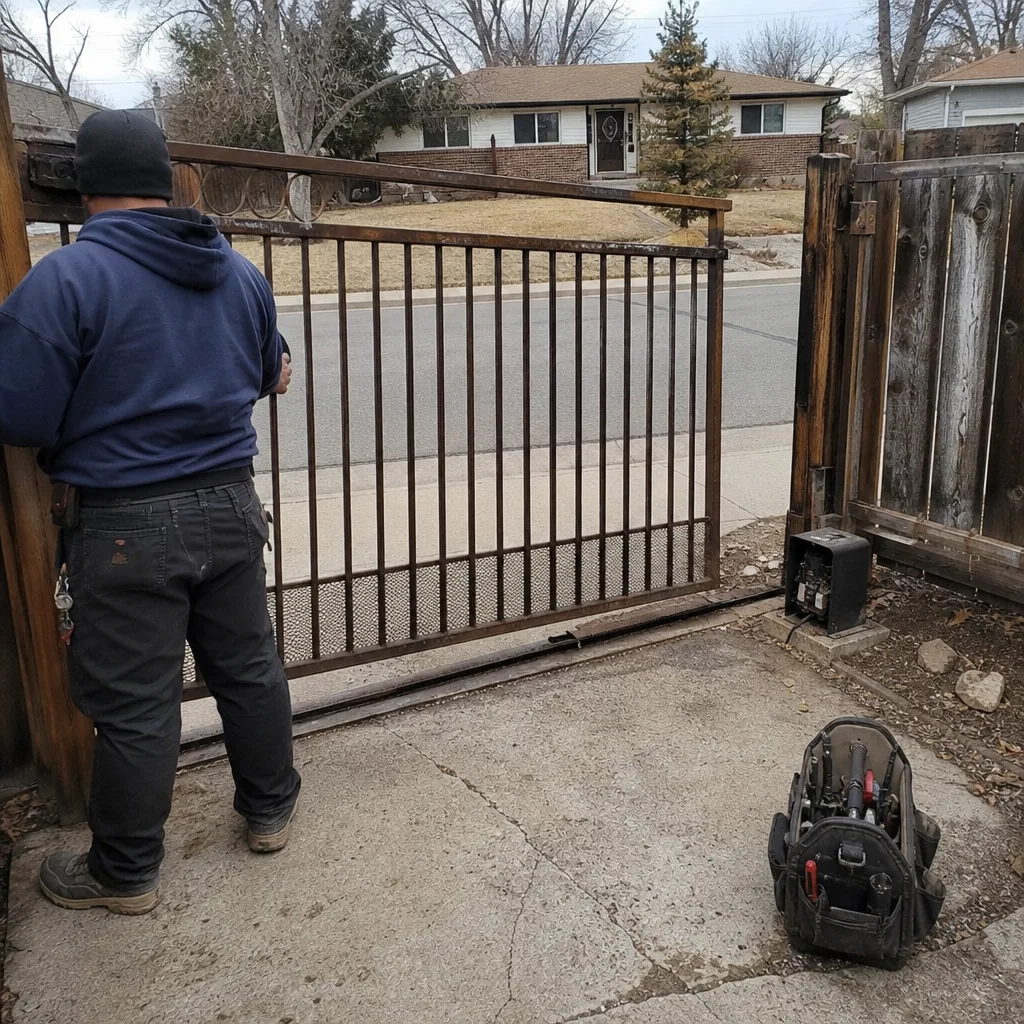 Before
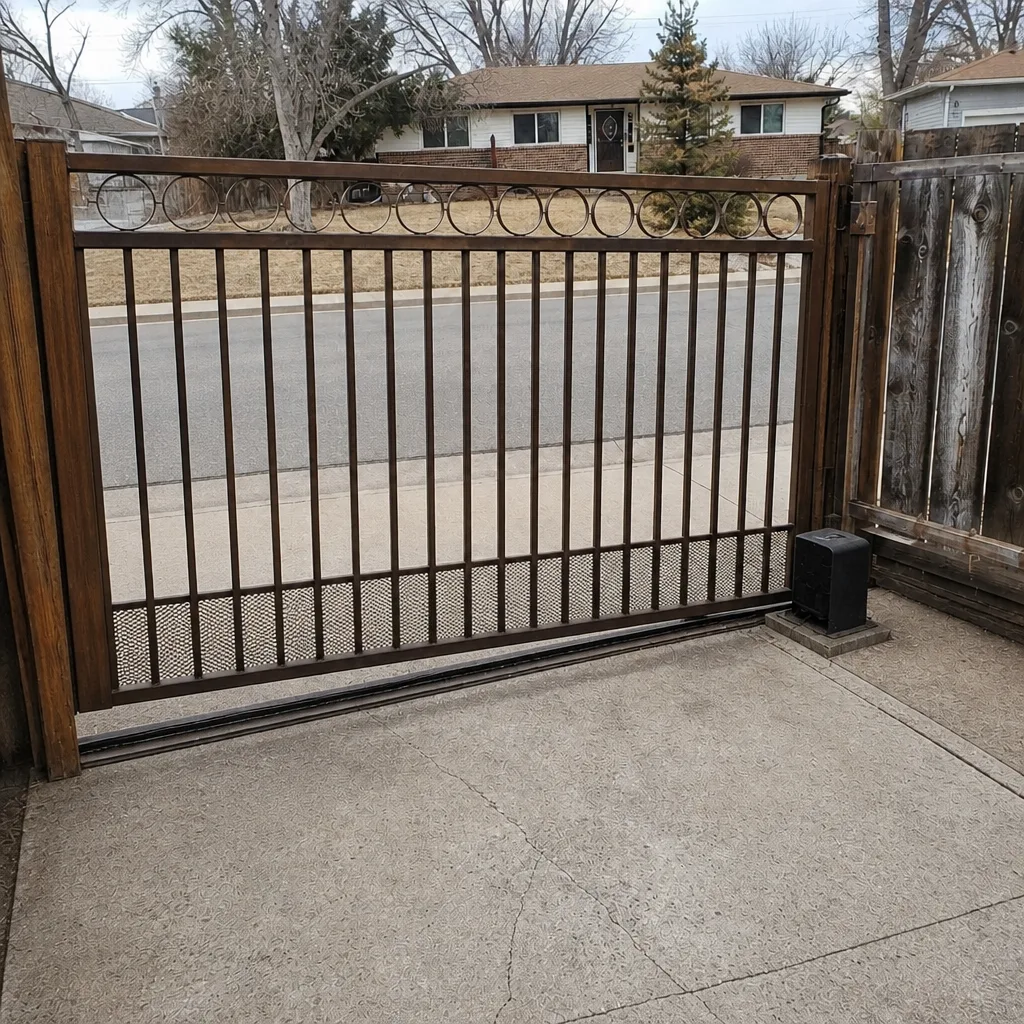 After
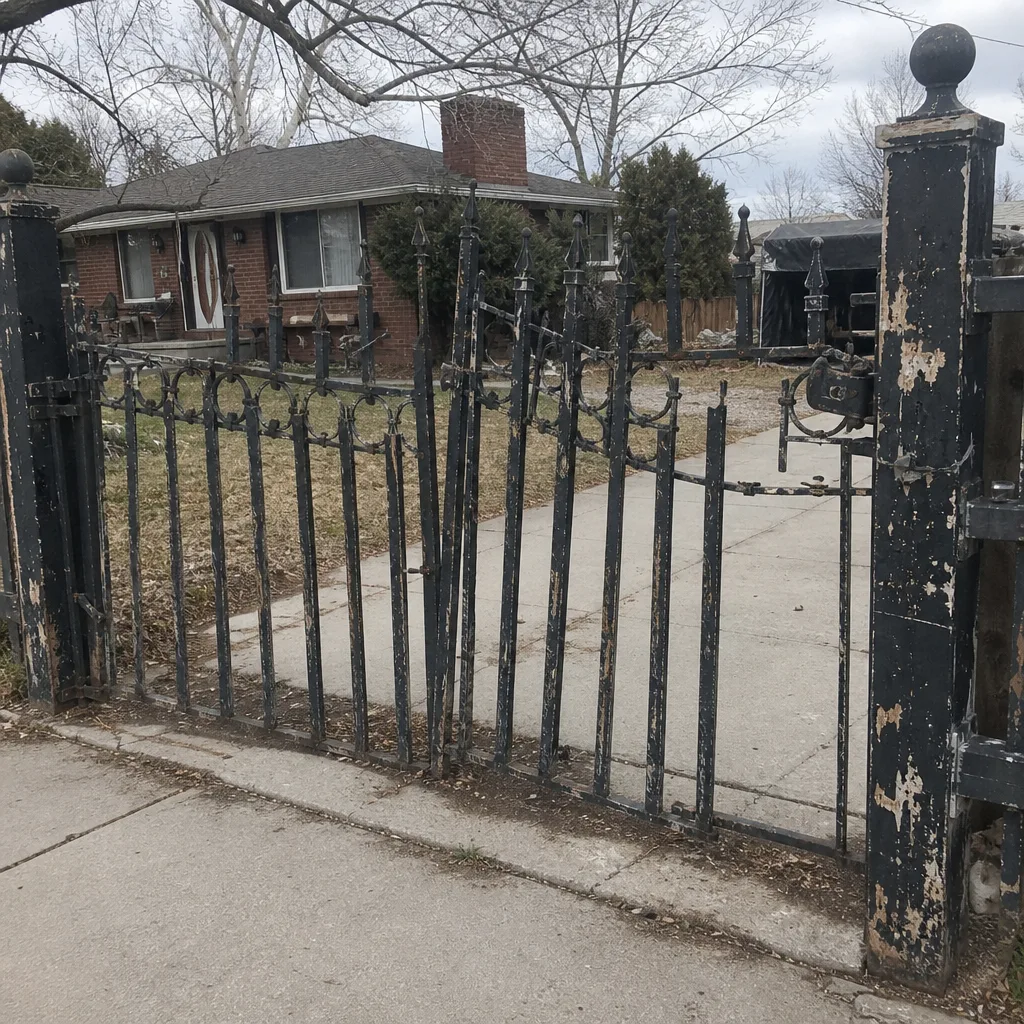 Before
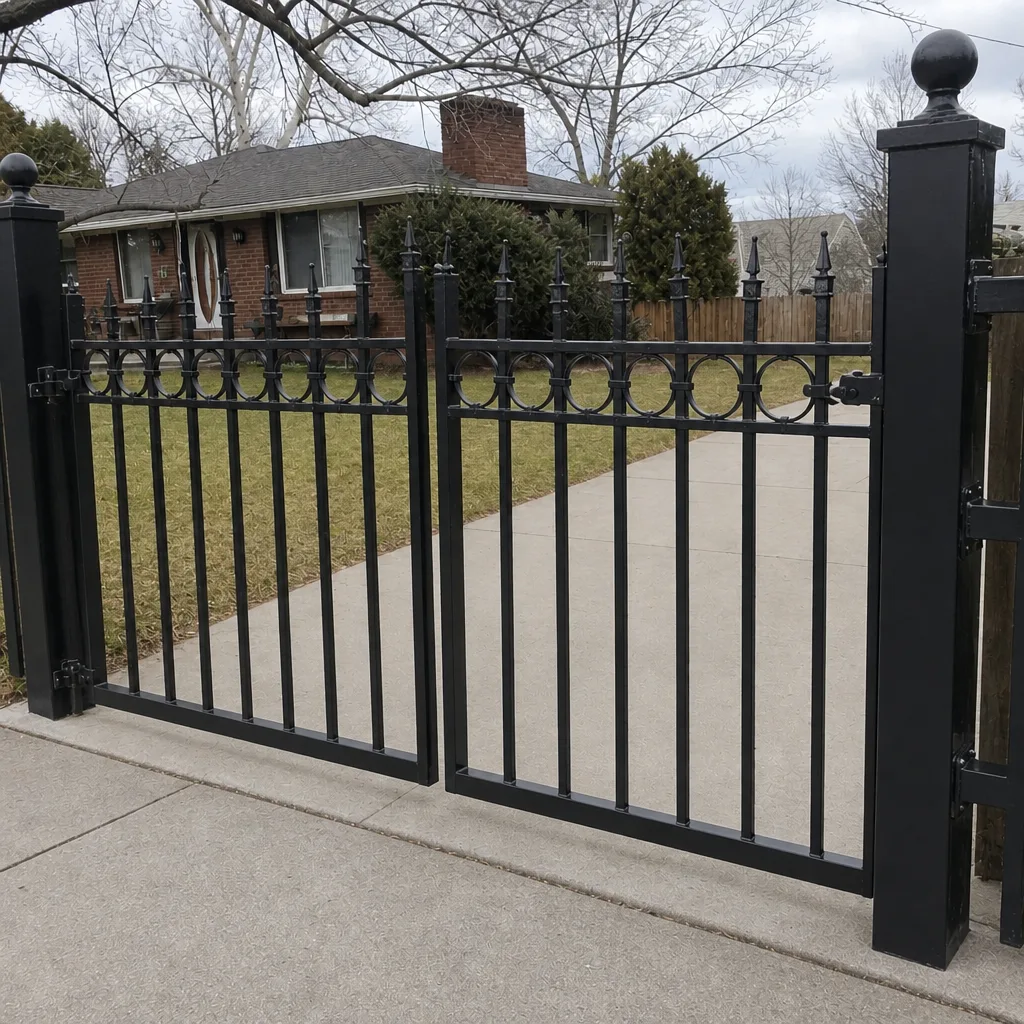 After
When to Call a Professional
Call a specialist when the gate doesn’t reverse on obstruction, when the operator housing needs to be opened (inspect only from the outside), when the gate is off its track or a slide gate is binding, and when measures show a post has moved enough to change the gate’s swing. A failing safety edge, a motor board that’s stopped responding, or intermittent access control on a multi-unit HOA all point to the same answer: this needs a trained eye on the operator and the structure together. If you’re unsure whether it’s a repair or a replacement, a professional will tell you which one the gate actually needs. Gate Repair Centennial offers free estimates in Centennial, so call (866) 361-9624 and we’ll talk through what you’re seeing before anyone comes out.
Frequently Asked Questions
A maintenance visit or self-check about twice a year stays ahead of most wear, with a quick monthly safety reversal test in between. Given the 60°F temperature swings and expansive clay soil, the two most important checks are a spring post-plumb measurement after the freeze-thaw and a fall battery test before the cold. Call (866) 361-9624 for a free estimate on a full service visit.
Match the lubricant to the part: light lithium or white grease on hinges and pivot pins, a dry silicone spray on slide tracks and rollers, and a dedicated chain lubricant on roller chains. The wrong product turns gummy and traps grit in UV-intense summers. If a hinge feels stiff rather than loose, the old product needs cleaning out first. Call (866) 361-9624 for help choosing.
Hold a spirit level against the post and compare it to the gate’s rest position, then measure to a fixed point at the top and base and log it with the date. If the gap between gate and post changes across the swing, or the gate stops sitting level, alignment is starting to load the operator. Month-to-month drift is worth a professional look. Call (866) 361-9624 for a free estimate.
Most trips come from dirty or misaligned photo-eyes, or from a safety edge that’s failed its circuit. Centennial’s pollen and dust foul optics quickly, so clean and realign first, then test the reversal. If it still trips, the sensor or control board is the culprit, and that’s an electric gate repair call, not a DIY fix. Call (866) 361-9624 for a free estimate.
Yes, in most cases. We work across a wide range of brands including LiftMaster, FAAC, Mighty Mule, DoorKing, and others, and our diagnostics aren’t tied to one make. No gate brand should be a dead end, because a specialist can read the operator and the structure side by side. Call (866) 361-9624 to tell us your make and model.
We answer 24/7. A call outside dispatch hours is booked into the next opening, Sunday through Friday, 7am to 7pm. Fast dispatch from 7am to 7pm resolves most gate problems the same day once we’re on the schedule. Call (866) 361-9624, and the phones are always answered.
The Bottom Line
The right gate checklist for Centennial isn’t the generic one. It starts with the correct lubricant for each part so you’re not turning hinges into gummy paste, it measures post plumb against the seasonal movement of expansive clay soil, and it tests battery backup under our intense high-altitude sun. The safety reversal test is the step you can’t skip, and the calendar needs to follow our 60°F swings rather than two tidy seasons. Do the small checks monthly, bring in a specialist when the operator or the posts need a trained eye, and your gate will cost less and last longer. Gate Repair Centennial is a gate-exclusive specialist, so that’s the only thing we do. Call (866) 361-9624 for a free estimate, mention your brand, and we’ll tell you what repairs make sense for your Centennial gate.
Written by the team at Gate Repair Centennial, serving Centennial since 2014.